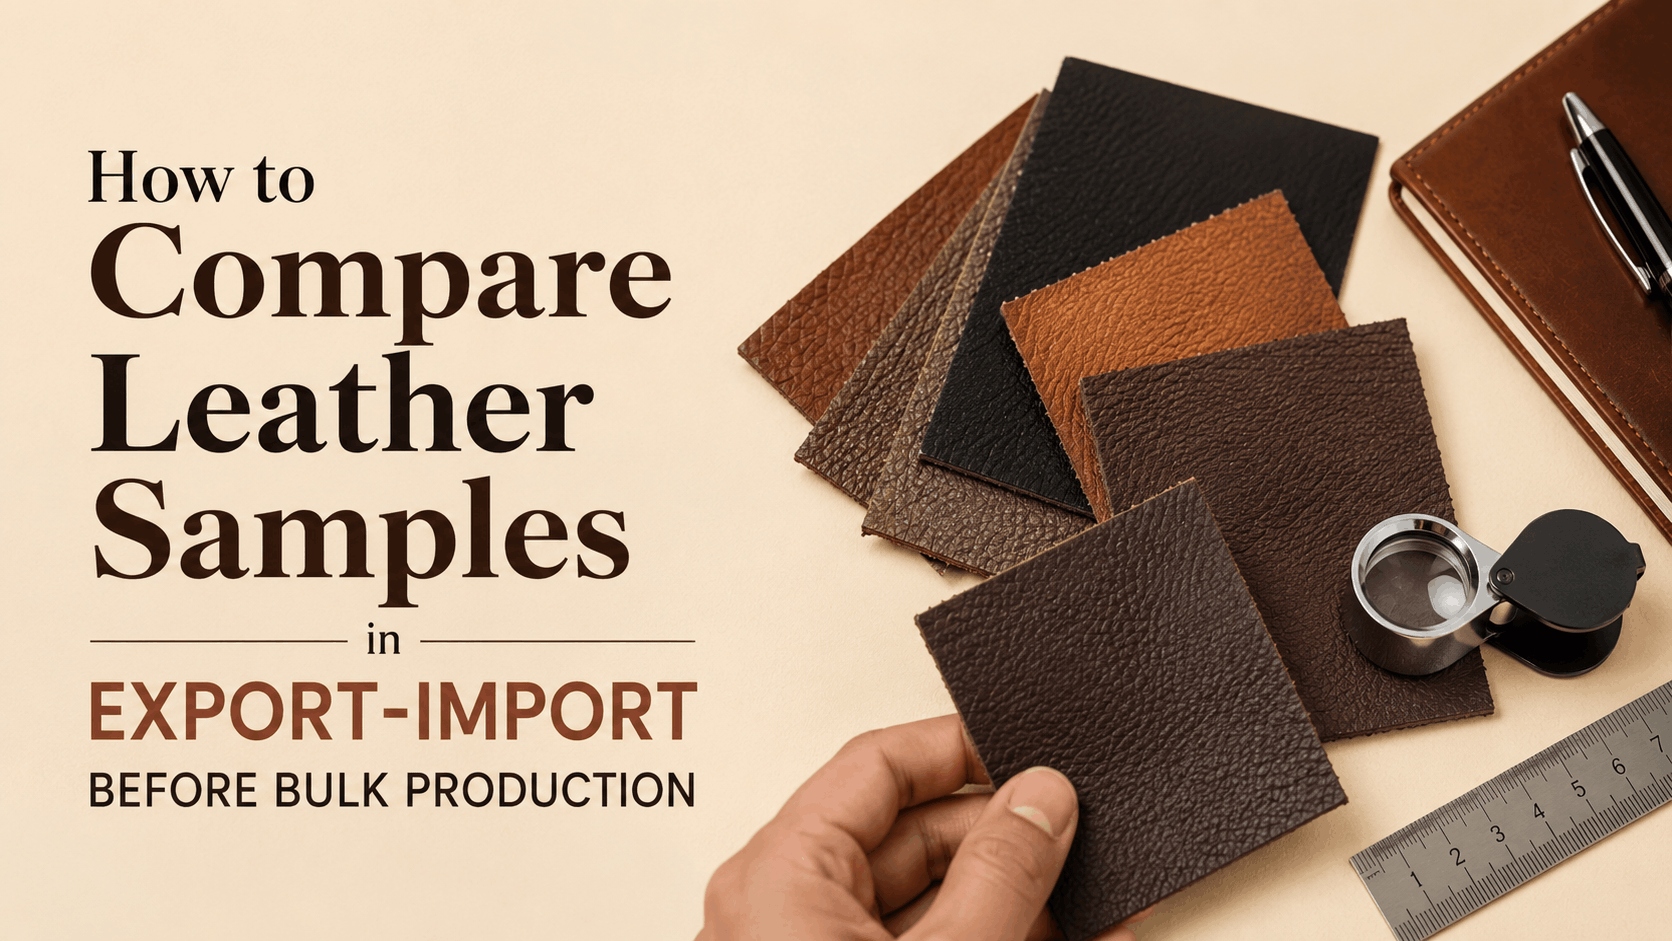
Received a leather sample that looks perfect? Don’t approve it just yet.
A good-looking sample doesn’t always lead to good production. Small details, like leather consistency, stitching, hardware, or measurements, can change once manufacturing begins.
That’s where many buyers make expensive mistakes. If you’re wondering how to compare leather samples before approving bulk production, you’re asking the right question.
This guide walks you through the same checkpoints experienced importers, procurement teams, and private-label brands use before giving the final approval.
Why Sample Approval Can Make or Break Your Bulk Order?
A leather sample isn’t just a preview. It’s the reference your manufacturer follows throughout production. Approve the wrong sample, and you’re also approving every detail that comes with it.
That’s why experienced buyers never approve a sample simply because it “looks good.” They approve it because it meets every agreed specification.
| Think about it this way: Changing one sample takes a few days. Correcting 5,000 finished products? That’s a completely different conversation. |
When learning how to compare leather samples, remember that appearance is only one part of the process. A sample should confirm that your product can be manufactured consistently. Not just once, but across every production batch.
A well-approved sample helps you:
- Set clear production standards.
- Reduce quality disputes later.
- Minimise costly rework and delays.
- Keep every production batch consistent.
- Give both you and the manufacturer one clear benchmark.
| Procurement Tip: Don’t ask, “Do I like this sample?” Ask, “Would I be happy if every product in my shipment looked exactly like this?” |
Also Read: 10 Mistakes Importers Make When Sourcing Leather Goods from India (And How to Avoid Them)
5 Essentials Before Comparing Leather Samples
Here’s something many first-time buyers don’t realise.
A leather sample isn’t meant to answer “Do I like it?”
It’s meant to answer “Can this product be reproduced consistently?”
That’s why experienced procurement teams never inspect a sample without supporting documents. A structured leather sample evaluation begins long before the first stitch is examined.
1. The Approved Tech Pack
Think of the tech pack as the product’s instruction manual.
It should include every production detail, including:
- Product dimensions and tolerance limits.
- Leather type, finish, thickness, and temper.
- Stitch type and SPI (Stitches Per Inch), where applicable.
- Edge paint colour and finish.
- Lining material and GSM.
- Hardware specifications and finish.
- Logo application method.
- Packaging requirements.
If the sample differs from the tech pack, ask why before approving it.
2. Material & Colour Standards
Leather is a natural material. Slight grain and shade variations are normal. What shouldn’t vary are the agreed specifications.
Compare the sample against:
- Approved leather swatches.
- Pantone colour references, where applicable.
- Hardware finish samples.
- Edge paint reference.
- Lining swatches.
3. Construction & Bill of Materials (BOM)
Many buyers check the finished product. Experienced buyers also check what went into it.
Request the Bill of Materials whenever possible. It confirms whether the agreed leather, lining, zipper brand, thread, reinforcement, foam, interlining, and hardware match the approved specifications.
4. Branding & Functional Requirements
Branding isn’t just about appearance.
Confirm every production detail:
- Logo position.
- Embossing depth or foil quality.
- Zip movement.
- Magnetic closure strength.
- Handle comfort.
- Strap adjustment.
- Pocket functionality.
A sample should work as well as it looks.
5. The Approved Quality Standard
Before you inspect anything, define what counts as acceptable.
Professional buyers usually agree on:
- Measurement tolerances.
- Acceptable leather grain variation.
- Minor surface marks.
- Stitching consistency.
- Edge paint finish.
- Hardware alignment.
- Workmanship standards.
Without agreed acceptance criteria, leather product quality control becomes subjective. Two people can inspect the same sample and reach completely different conclusions.
| Procurement Tip: Don’t compare today’s sample with yesterday’s memory. Compare it with documented specifications. That’s how experienced buyers achieve consistent production across every order. |
Also Read: How to Choose the Best Leather for Bags, Wallets & Accessories: A Complete Buyer’s Guide
A Step-by-Step Workflow to Compare Leather Samples Before Production
Every buyer has a different inspection style. Some start with the leather. Others jump straight to the zip or logo. Experienced buyers don’t.
They follow a sequence. Each step builds on the previous one. Miss one stage, and you could overlook an issue that only becomes obvious after bulk production starts.
Here’s the workflow procurement teams and OEM buyers often follow during leather sample approval.
Step 1: Compare the Overall Shape Against the Original Design
Don’t inspect the details just yet.
Place the sample on a flat surface and study its overall appearance.
Ask yourself:
- Does the silhouette match the approved design?
- Is the product standing correctly?
- Are both sides symmetrical?
- Do handles, flaps, pockets, and panels align properly?
- Does it look balanced from every angle?
If the structure looks wrong now, no amount of premium leather will fix it later.
Step 2: Evaluate the Leather Against the Approved Specification
Now shift your attention to the material.
This isn’t about deciding whether the leather feels “nice.” It’s about confirming it matches what was approved during product development.
Review:
- Leather type and finish.
- Grain consistency.
- Thickness and temper.
- Colour uniformity.
- Natural grain characteristics.
- Surface defects beyond agreed acceptance limits.
A proper leather sample evaluation compares the sample with the approved leather specification, not another sample from memory.
Step 3: Examine Stitching & Construction Quality
Good construction often goes unnoticed. Poor construction never does. Inspect every stitched area carefully.
Look for:
- Consistent SPI (Stitches Per Inch).
- Straight stitch lines.
- Uniform seam allowance.
- Secure backstitching.
- Reinforced stress points.
- Even panel assembly.
One uneven stitch isn’t always a concern. Repeated inconsistencies usually indicate a production issue.
Step 4: Test Every Functional Component
Now stop looking. Start using the product. Open every zip. Fasten every buckle. Snap every magnetic button. Adjust every strap. Fill the pockets.
A sample should perform as smoothly as it looks. This stage of leather product quality control often uncovers problems that visual inspections miss completely.
Step 5: Verify Branding & Brand Presentation
Your customer notices the brand before they notice the leather. That’s why branding deserves its own inspection.
Check:
- Logo placement.
- Embossing or debossing quality.
- Foil stamping consistency.
- Brand alignment.
- Font accuracy.
- Position against approved artwork.
Even small branding inconsistencies can affect retail presentation and private-label compliance.
Step 6: Confirm Dimensions & Production Tolerances
Never assume measurements are correct. Verify them.
Use the approved tech pack to compare:
- Height.
- Width.
- Depth.
- Handle drop.
- Strap length.
- Pocket dimensions.
Also confirm the agreed production tolerances. A few millimetres may seem insignificant, but they can affect fit, packaging, accessories, or retail display.
Step 7: Inspect Surface Finishing & Overall Workmanship
This is where attention to detail becomes obvious. Slow down and inspect the finishing.
Look for:
- Clean edge painting.
- Uniform edge folding.
- Smooth burnishing.
- Glue residue.
- Loose threads.
- Wrinkles or scratches.
- Lining finish.
- Corner finishing.
A thorough leather quality inspection often identifies finishing defects long before they become customer complaints.
Step 8: Review Packaging & Product Identification
The product may be perfect. That doesn’t mean it’s ready to ship. Learning how to compare leather samples ends at proper packaging and shipping norms. Confirm every agreed packaging requirement before approving production.
Review:
- Dust bags.
- Tissue wrapping.
- Hang tags.
- Barcode labels.
- SKU labels.
- Carton markings.
- Moisture protection.
- Retail packaging requirements.
Packaging errors rarely affect manufacturing. But they can disrupt warehousing, retail operations, and customer deliveries.
| Procurement Tip: Never approve a leather sample because it looks impressive. Approve it because every detail can be reproduced consistently from batch to batch. |
Have questions before approving your next sample? Let’s start with a conversation at info@smpcnavsetu.com. No sales pitch. No pressure. Just honest advice to help you make the right decision.
Prototype, Pre-Production Sample & Golden Sample: What’s the Difference?
A supplier says, “We’ve approved the sample.” The buyer assumes production can begin.
In reality, they may be talking about completely different samples.
Understanding each stage makes how to compare leather samples much easier. Because you’ll know exactly what you’re approving, and what you’re not.
1. Prototype Sample: Does the Idea Work?
This is usually the very first sample. Its job isn’t to be perfect. It’s built to test the concept.
At this stage, focus on:
- Product shape and proportions.
- Overall construction.
- Pocket placement.
- Functionality.
- Design improvements.
Don’t worry too much about leather selection, edge painting, or final branding. Those often change before production.
| Buyer Tip: A prototype answers one question: “Is this the right product?” |
2. Pre-Production Sample (PPS): Can This Be Manufactured Consistently?
Once the design is approved, the manufacturer prepares the PPS.
This sample should reflect the actual production specifications as closely as possible.
Confirm that it uses:
- Approved leather.
- Final hardware.
- Production stitching.
- Correct branding.
- Approved packaging, where applicable.
If anything differs from the agreed specification, request changes before production begins, not after.
| Buyer Tip: The PPS answers a different question: “Is this exactly what we’ll manufacture?” |
3. Golden Sample: The Final Production Benchmark
Think of the Golden Sample as the reference everyone follows. Production teams use it. Quality inspectors use it. Buyers use it. Even repeat orders are often checked against it.
Once approved, it becomes the benchmark for:
- Leather quality.
- Construction.
- Measurements.
- Branding.
- Workmanship.
- Packaging.
Every future product should be measured against this sample. Not against memory or product photos.
| Buyer Tip: Keep the approved Golden Sample safely stored. It can settle quality discussions months—or even years—after the original order. |
Here’s a quick comparison to help you remember the role of each sample.
| Sample Type | Main Purpose | Should You Approve for Production? |
| Prototype Sample | Validate the design, proportions, and functionality | No |
| Pre-Production Sample (PPS) | Verify final production specifications and workmanship | Yes, after revisions (if any) |
| Golden Sample | Become the official production and quality benchmark | Yes |
Also Read: How to Choose an OEM Leather Goods Manufacturer for Your Brand
Common Sample Approval Mistakes Buyers Often Regret
Even the best sample can’t protect you from a poor approval process.
If you’re learning how to compare leather samples, avoid these common approval mistakes before signing off on production.
1. Approving Samples from Photos or Videos
Photos are useful. Approvals aren’t.
Lighting, camera angles, and screen settings can change how leather colour, grain, texture, and finish appear.
Whenever possible, approve a physical sample instead of relying on digital images alone.
2. Treating Every Revision as a Minor Change
A new zip.
A different edge paint.
An updated logo.
Each revision should trigger another review. Small changes can affect construction, appearance, or production consistency far more than expected.
3. Skipping Functional Testing
A product can look flawless on the table. Then disappoint during everyday use.
Always test how the product opens, closes, folds, carries weight, and performs in real-life conditions. Good design should also work well, not just photograph well.
4. Ignoring the Sample Approval Record
Approvals shouldn’t live inside email threads or chat messages.
Maintain one documented approval record that includes:
- Final revision number.
- Approval date.
- Approved artwork.
- Material specifications.
- Packaging requirements.
- Reference sample.
Clear documentation saves hours of confusion during production and repeat orders.
5. Rushing Approval to Meet a Deadline
We’ve all seen it. A shipment date is approaching, everyone wants to move quickly, and the sample gets approved with a simple: “We’ll fix that during production.”
That’s a risky promise. Production is designed to repeat an approved standard, not redesign it.
| Procurement Tip: If a sample still needs explaining, it probably isn’t ready for approval. A well-approved sample should answer questions, not create new ones. |
Final Sample Approval Checklist
Before you approve production, make sure you can confidently answer “Yes” to each of these questions.
Does the sample match the latest approved tech pack?
Has the correct leather, thickness, temper, and finish been used?
Are all dimensions within the agreed tolerance?
Have the approved hardware, lining, thread, and trims been used?
Has branding been verified against the final artwork?
Does every functional component operate smoothly?
Have packaging and labelling requirements been confirmed?
Has the Pre-Production or Golden Sample been documented as the production reference?
Have all revisions been approved in writing?
Is everyone working from the latest version of the sample?
| Procurement Reminder: If you hesitate on even one answer, pause the approval. A few extra hours today can prevent weeks of production issues later. |
Turn Better Sample Approvals Into Better Production Outcomes
Knowing how to compare leather samples is only one part of the equation. Consistently reproducing that approved sample across every production batch is where real expertise matters.
At SMPC Navsetu, we work with importers, private-label brands, OEM buyers, and procurement teams to make the approval process structured, transparent, and predictable.
Here’s how we help:
- Review product specifications before sampling begins.
- Develop and refine prototypes until every detail is production-ready.
- Match leather, hardware, and trims with approved specifications.
- Maintain quality checks throughout production, not just before shipment.
- Coordinate packaging and export readiness for international orders.
- Support repeat orders using approved production standards and reference samples.
Whether you’re developing a new leather collection or scaling an existing one, our focus remains the same: To help you move from sample approval to consistent bulk production with confidence.
Ready to source leather goods from India with confidence? Partner with SMPC Navsetu for export-ready manufacturing, consistent quality, and end-to-end execution, from product development to global delivery.
Frequently Asked Questions
1. How many sample rounds are usually needed before bulk production?
Most custom leather products require 2–4 rounds of samples. Typically, a prototype, a revised sample, a Pre-Production Sample (PPS), and finally a Golden Sample. The exact number depends on product complexity, customisation, and how quickly revisions are approved.
2. Should I compare samples from multiple manufacturers before approving production?
Yes. Comparing samples from two or three manufacturers helps you benchmark leather quality, workmanship, pricing, consistency, and communication. That’s exactly how SMPC Navsetu helps brands identify the right manufacturing approach before bulk production begins.
3. Can leather colour vary between the approved sample and bulk production?
Yes. Natural leather can show slight variations in shade and grain between hides or production batches. However, the finished products should remain within the agreed colour tolerance and follow the approved leather specification.
4. What defects should I reject immediately during sample approval?
Reject samples with incorrect leather, substituted materials, poor construction, weak functionality, inaccurate branding, or measurements outside the agreed tolerance.
5. Can the approved sample still differ from the final production?
It can, especially if raw materials change or production isn’t monitored properly. That’s why experienced buyers approve a Golden Sample and expect every production batch to match its specifications, workmanship, and finishing as closely as possible.
6. Can I request changes after approving the sample?
Yes, but only before bulk production begins. Any change to leather, hardware, branding, dimensions, or packaging should be documented and approved again, as even minor revisions can affect cost, lead time, and manufacturing consistency.
7. Should packaging be approved along with the leather sample?
Absolutely. Review dust bags, hang tags, barcode labels, cartons, and retail packaging before production starts. At SMPC Navsetu, packaging approval is part of our production process, not an afterthought.
8. How long does leather sample approval usually take?
Most buyers complete sample approval within 3–10 business days, depending on internal reviews and product complexity. Taking a little extra time during approval is usually far less expensive than correcting issues after production begins.
9. Who should sign off on the final leather sample?
The final approval should involve the procurement manager, the product development team, the quality manager, or the brand owner. A documented sign-off ensures everyone works from the same approved sample throughout production and future repeat orders.
10. Should I approve the sample in person or remotely?
A physical inspection is always the better option. It allows you to accurately assess leather texture, thickness, workmanship, and functionality. If that’s not possible, we can provide high-resolution photos, detailed videos, and a live virtual inspection before approving production.